Importing Contacts through CSV
Things to Know
- Dex tries to match generously based on header names of the file, so ‘first_name,’ ‘First name,’ and ‘Name’ should all be matched correctly.
- In the import from CSV function, there’s a field called Group/Tags. They need to be separated either comma- or by the ’:::’ string (both work).
- If you’re importing from an Outlook CSV or Google Contacts CSV export, no changes are needed.
Getting Started
Go to the Import page
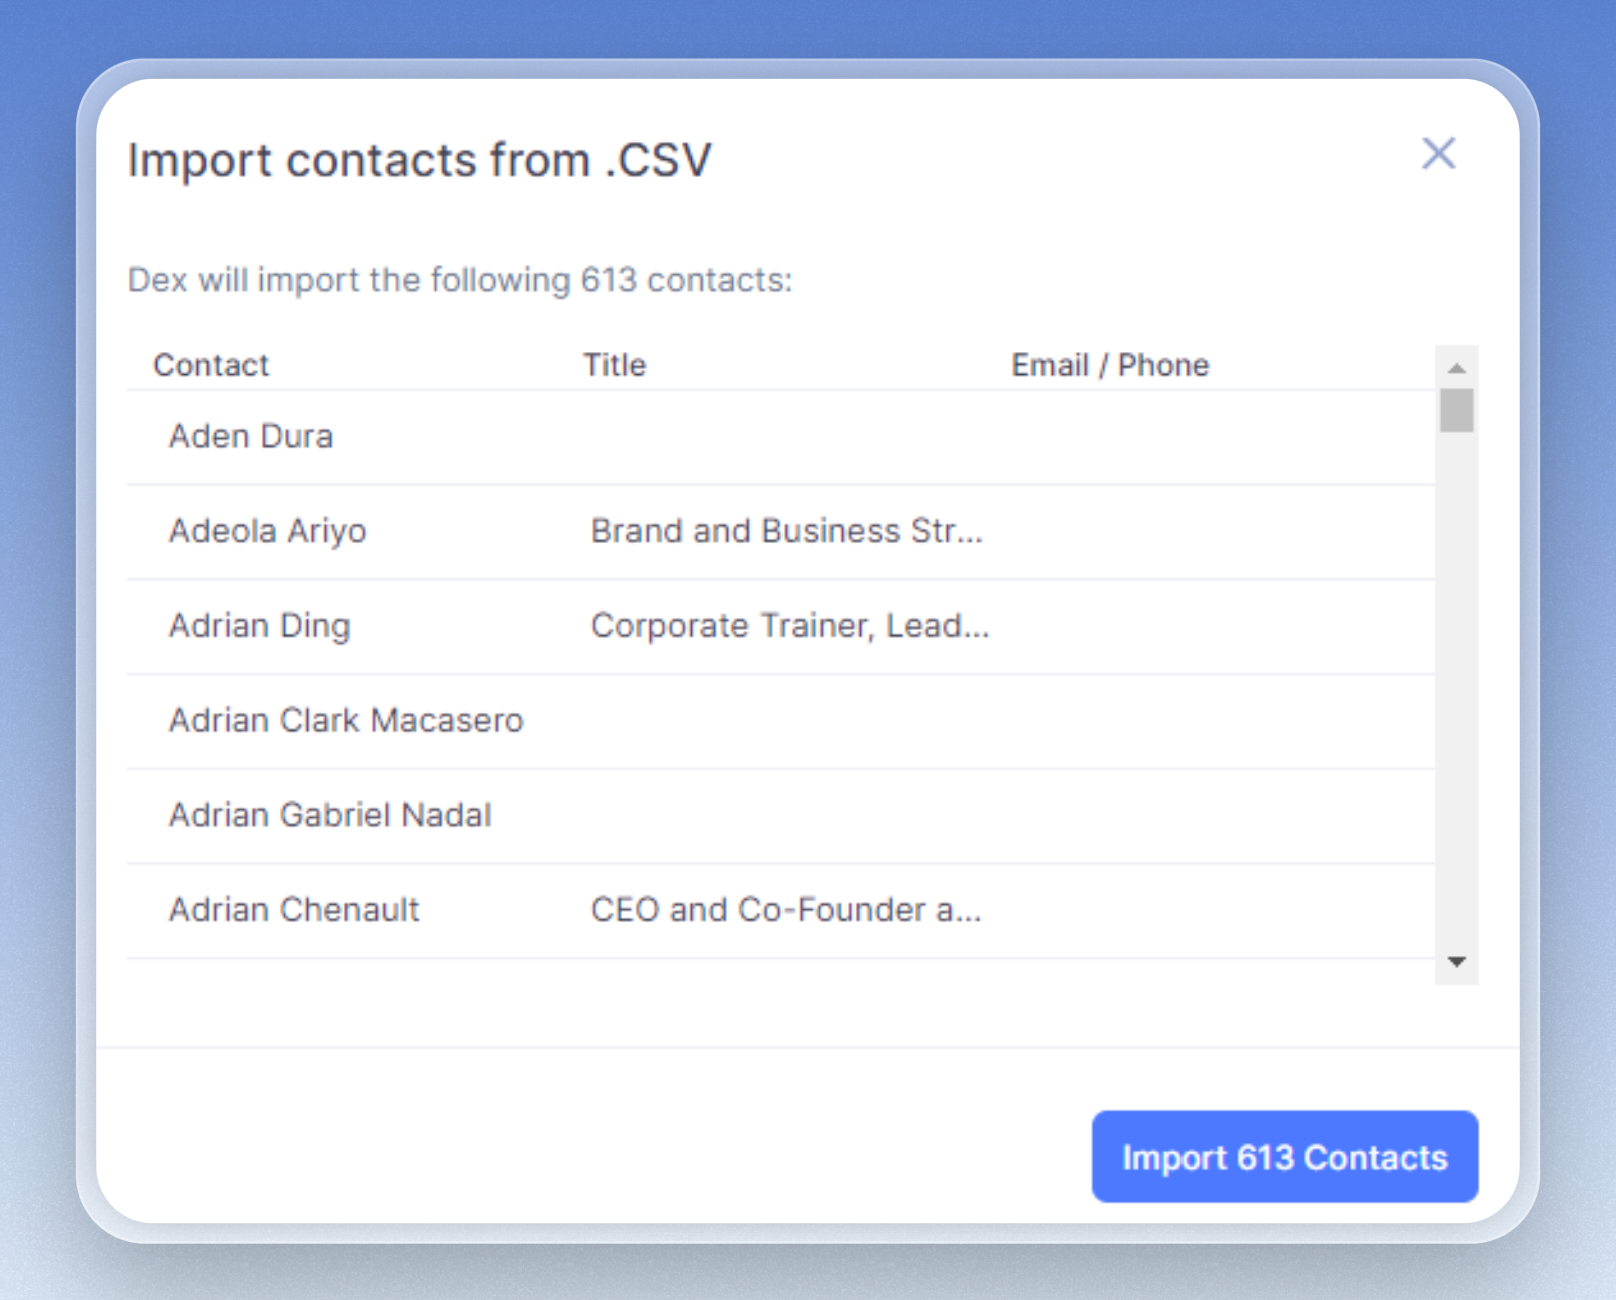
Once you’re on the Import page, select ‘CSV File for Contacts’. 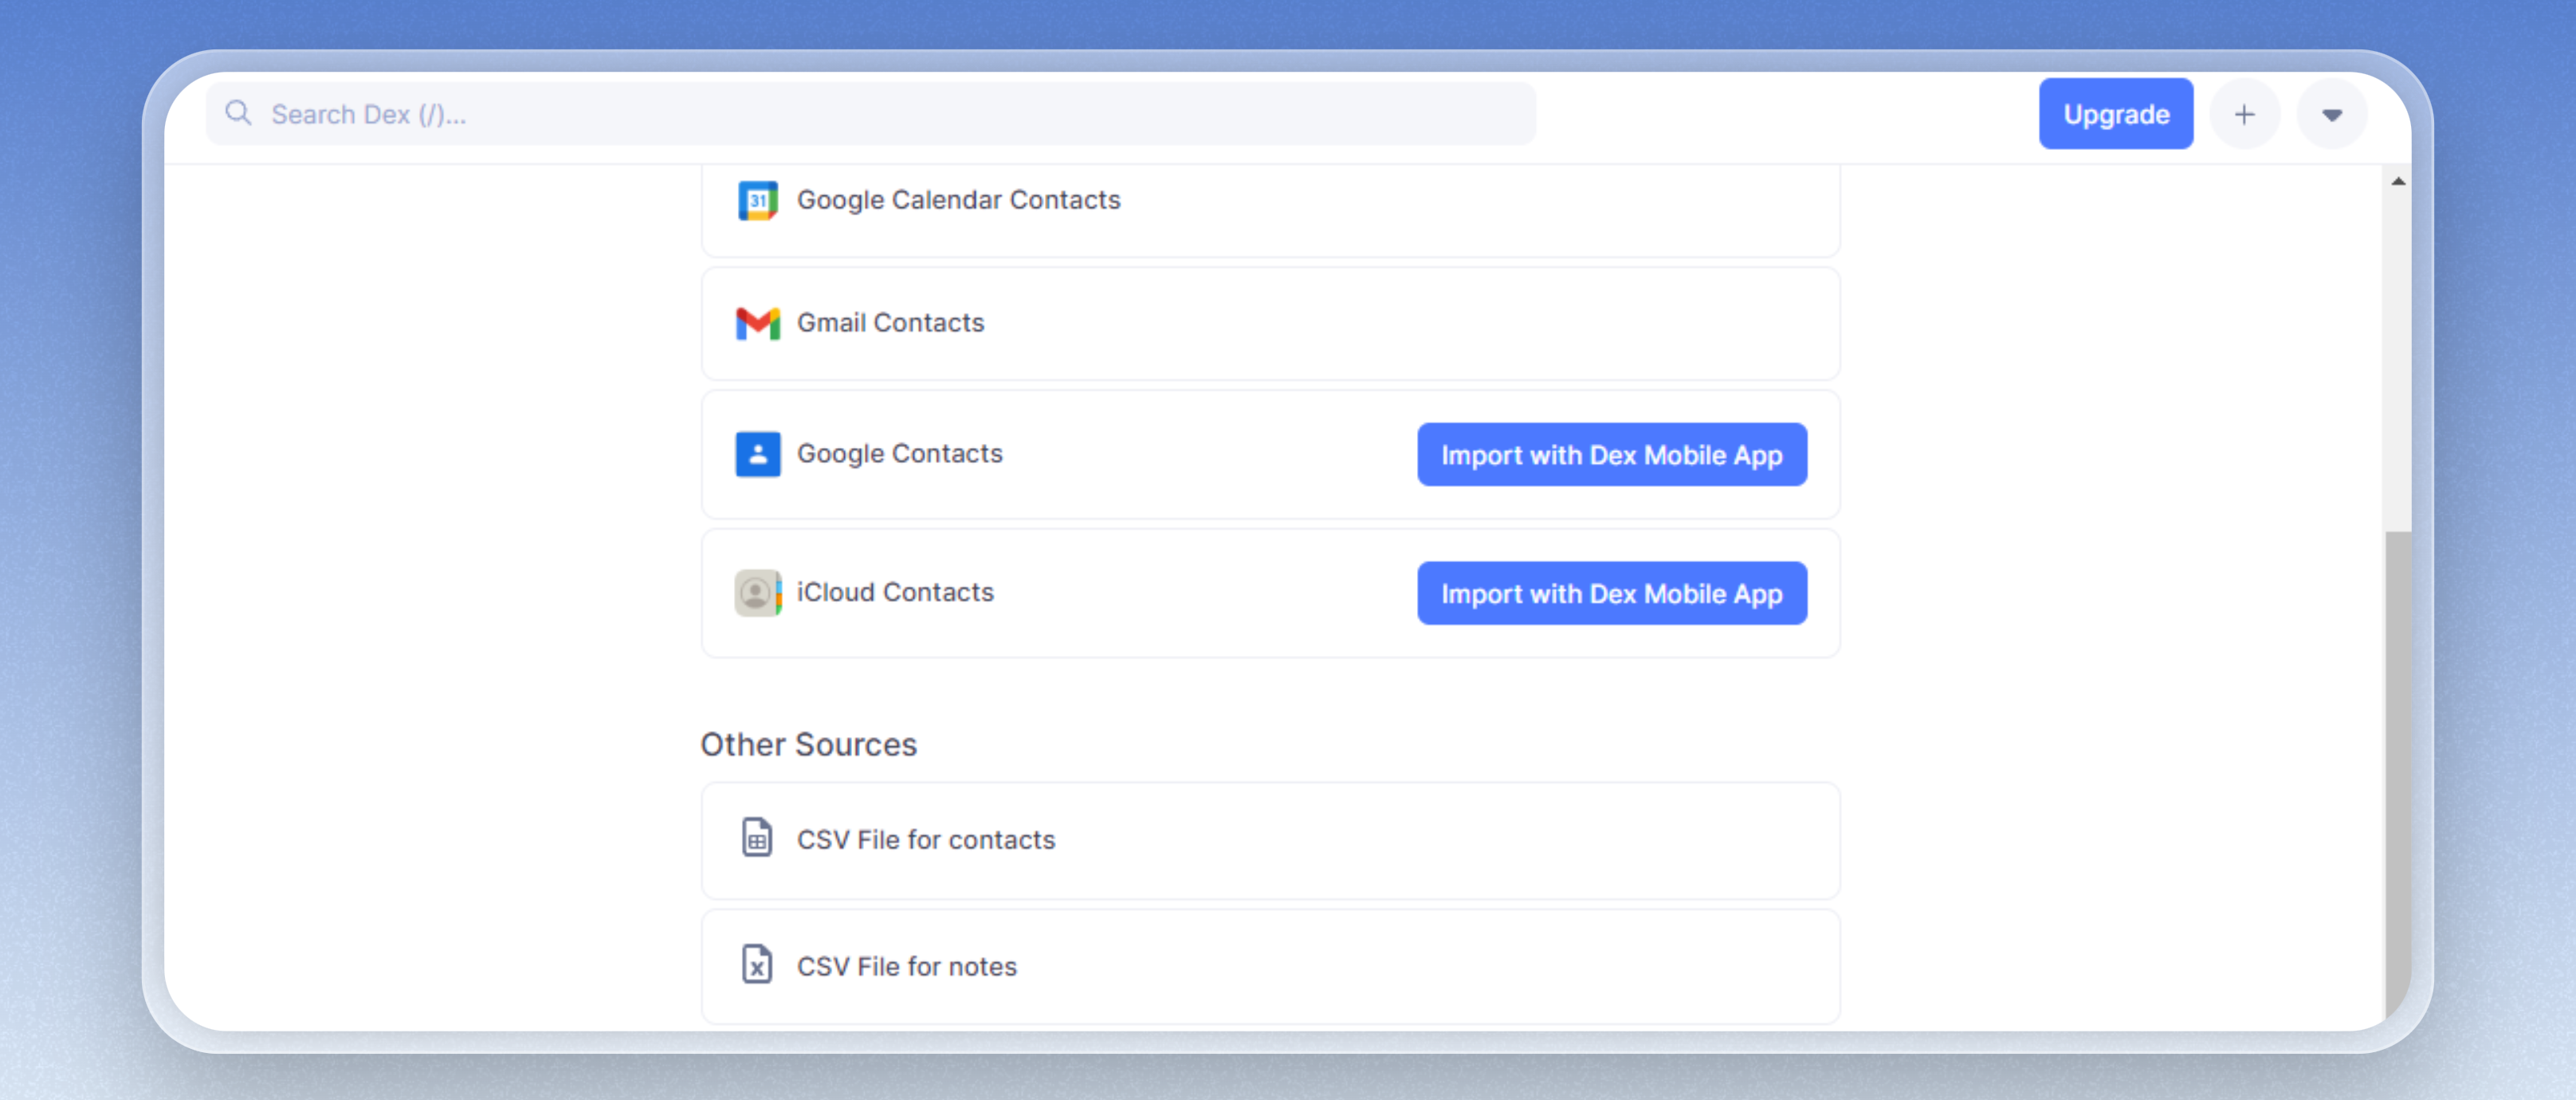
Upload the file
Click on the ‘Select File’ button to upload it to Dex and locate the CSV file. 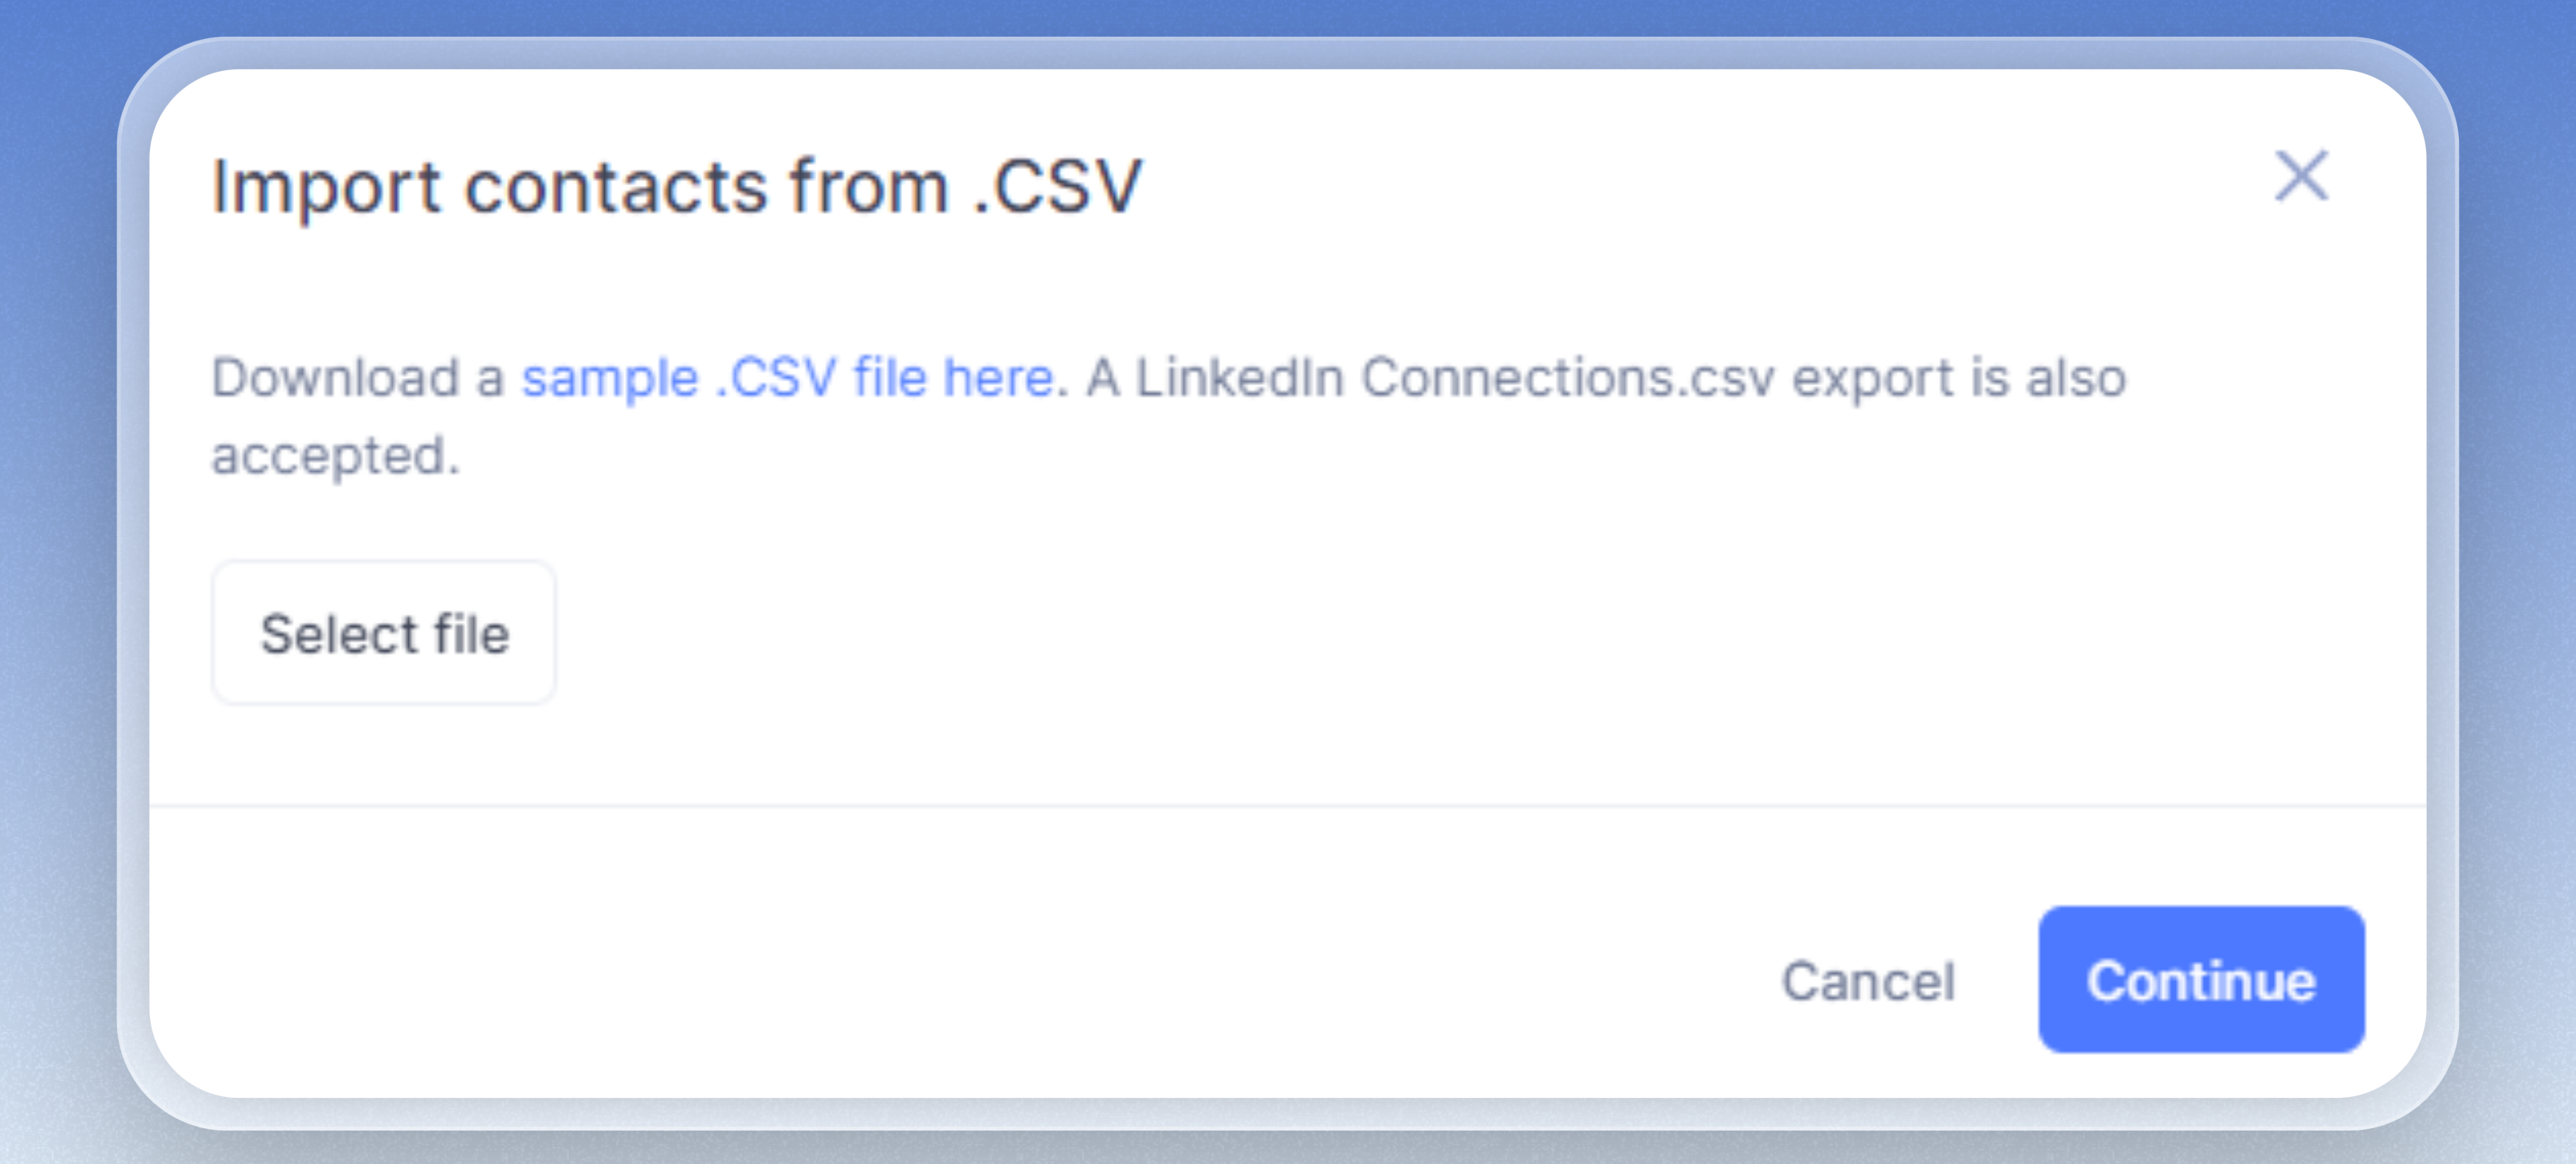
Click on the ‘sample .CSV file here’ to download an example CSV.
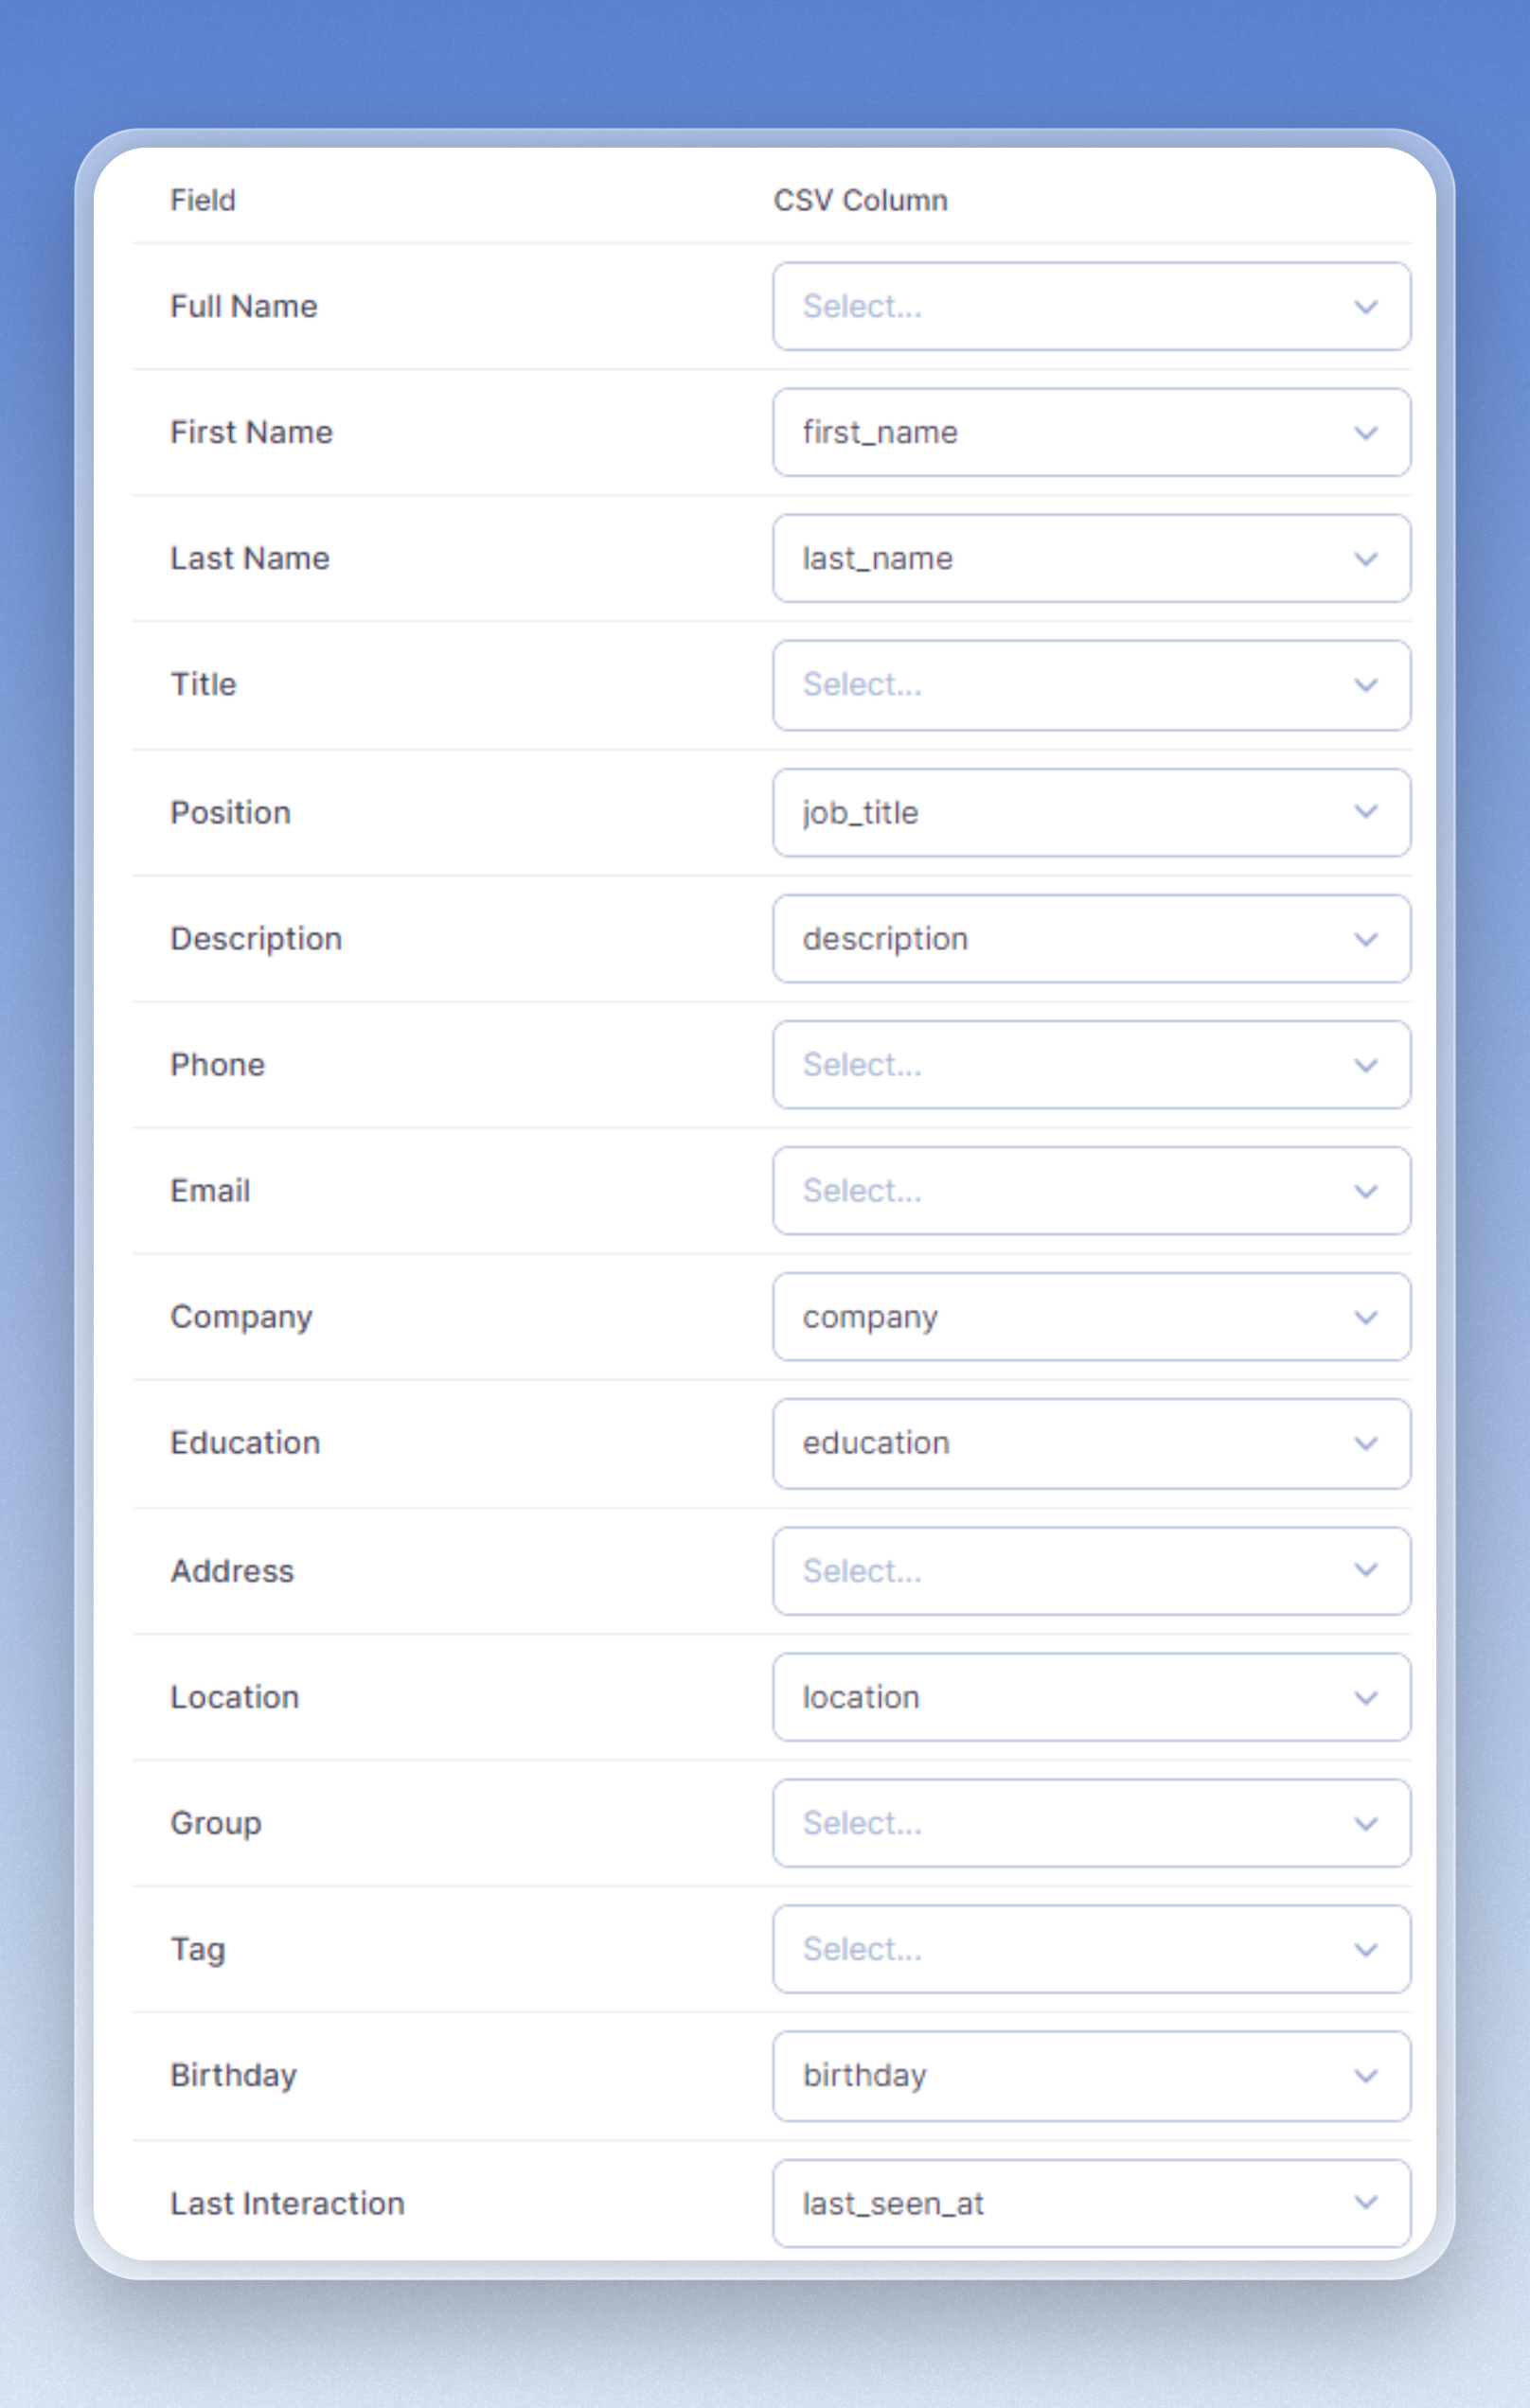
CSV Schema/Format
If you’re downloading from another tool, we recommend the following basic header format for CSV files:- Name
- Title
- Description
- Phone
- Company
- Education
- Tags
- Group
- You can add multiple groups by separating them with a comma or ’:::’ string.
- Birthday
- Use common formats, like 2/20/2000 or Feb 20
- Location
- Use a plain string value, like ‘New York City’ or ‘SF’
- Last Interaction
- Use common formats, like 2/20/2000 or Feb 20
- LinkedIn URL
- Twitter URL
- Facebook URL
- Instagram URL
- Custom Fields
- Profile Photo
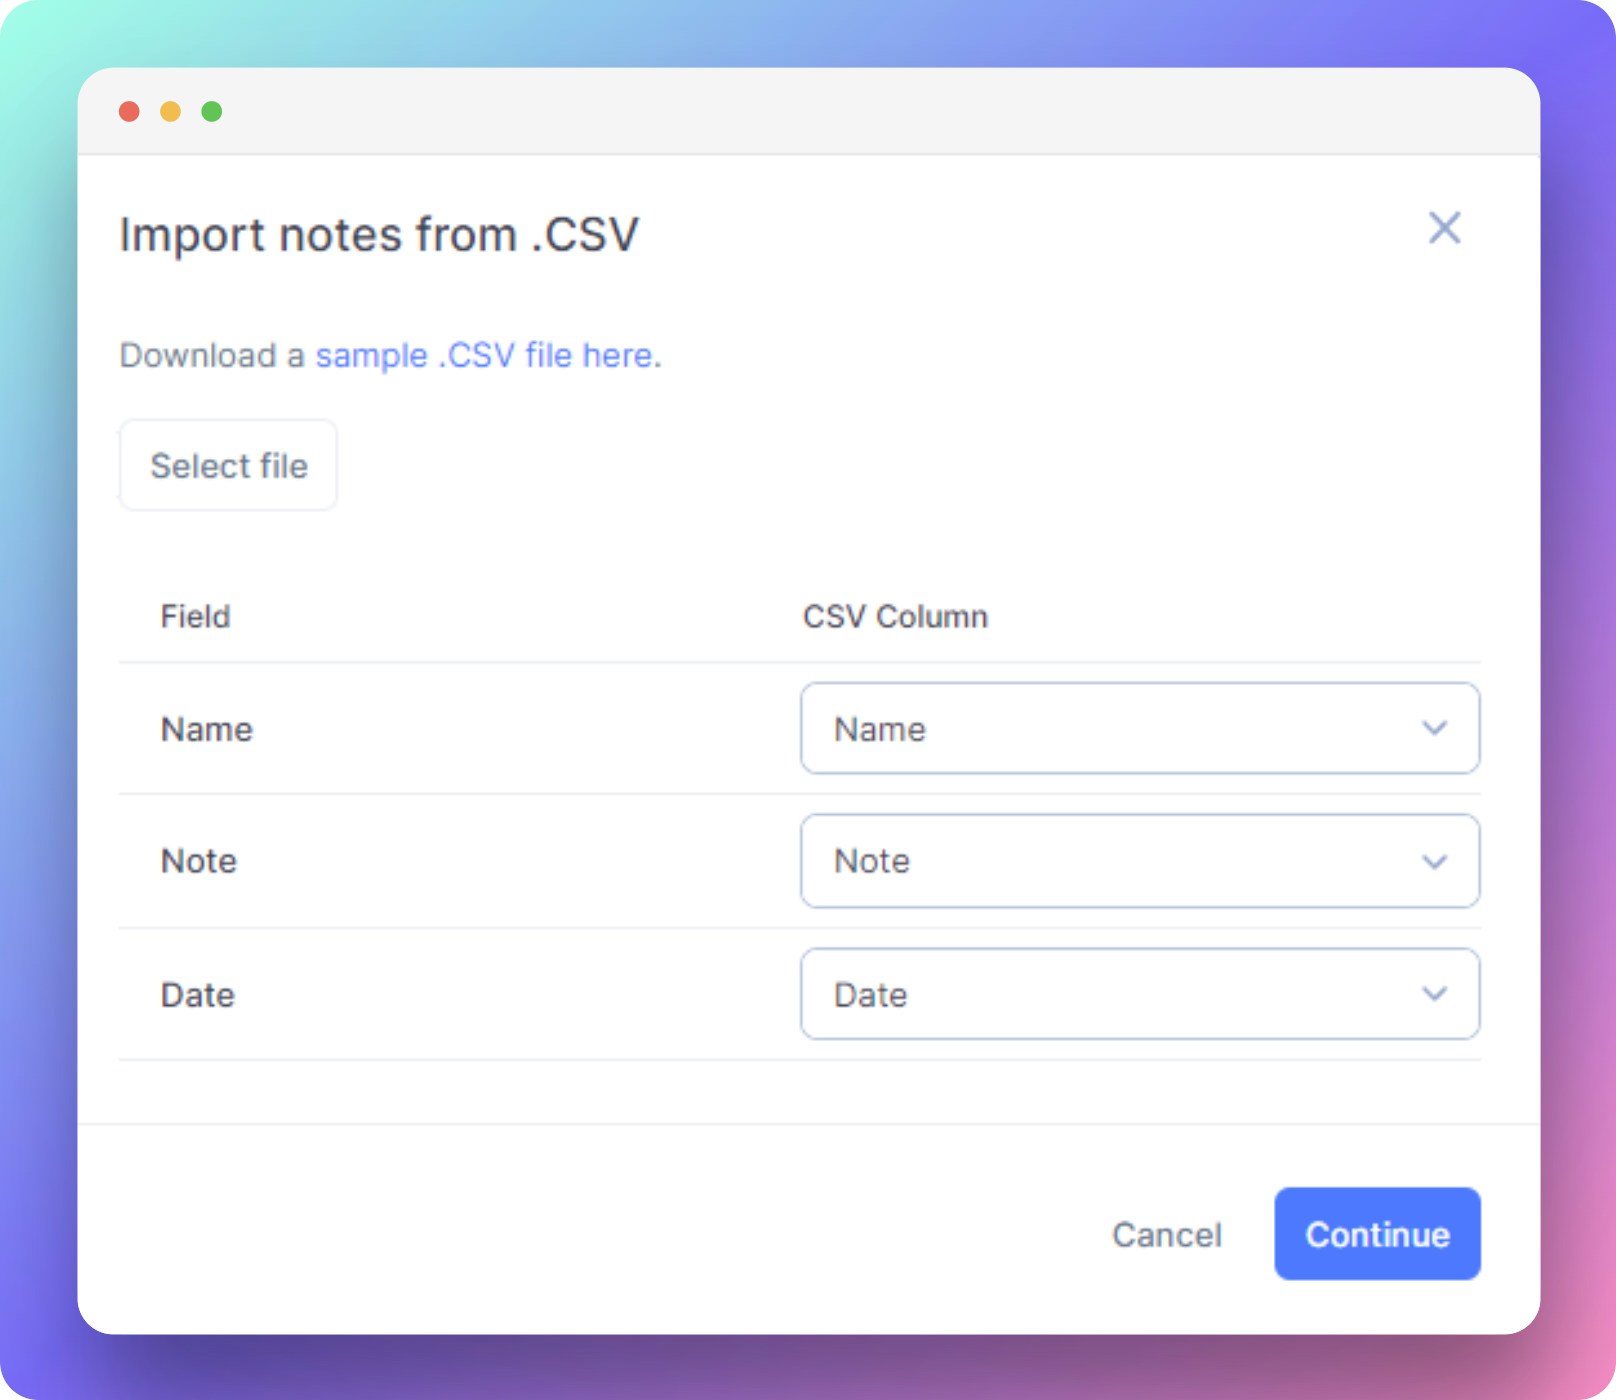
Importing Notes through CSV
Things to Know
- Columns ‘Name’ and ‘Notes’ are required and should be matched correctly.
- You can optionally add ‘Date’ as a third column.
- The note body can be written in HTML.